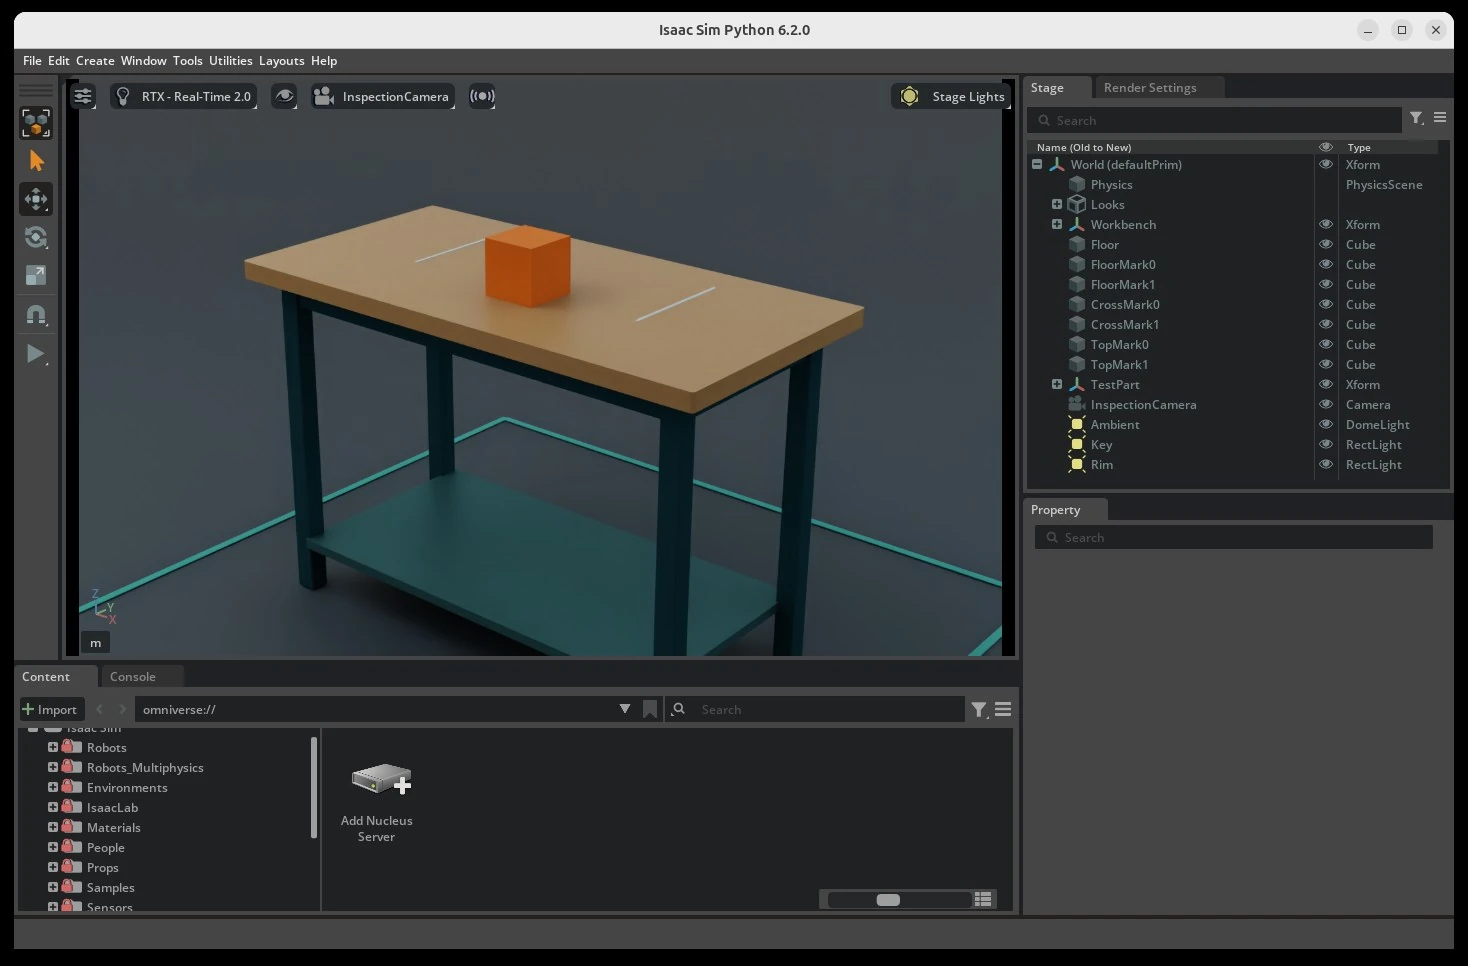
Turn a STEP workbench into an OpenUSD scene, drop a test cube onto it in Isaac Sim, and capture four RGB, depth, and semantic-mask frames with Replicator. Finish by checking the scene dimensions, the cube's resting height, and how far it moved between captures.
How does a workbench model become a camera dataset?
- InputStart with the CAD shape
workbench.step → cad_meshes.jsonCadQuery reads the CAD solids and divides their surfaces into triangles that can be placed in USD.
- ProcessMake a scene the cube can land on
workbench_scene.usda · collider · cameraIsaac Sim adds the tabletop collision shape and the camera. PhysX moves the falling cube.
- OutputCapture and verify camera data
PNG + depth/mask arrays → check/report.jsonReplicator saves three channels per frame. The checker uses the saved data to measure cube movement.
Carry STEP dimensions into USD
STEP stores the CAD shapes of the workbench parts. The CadQuery script divides their surfaces into triangles, converts the vertices from millimeters to meters, and saves the vertices and face indices in cad_meshes.json. The simulator builds the USD scene from those coordinates. For example, a tabletop length of 1,200 mm becomes 1.2 in this meter-based scene. Check dimensions even when the asset looks plausible in the viewport. CAD source · OpenUSD linear units
| Component | Input → output | What to check in this lab |
|---|---|---|
| Scene geometry | Triangular meshes → USD prims and coordinates | A tabletop measuring 1.2 × 0.6 × 0.04 m. |
| PhysX | Rigid body, colliders, and gravity → cube poses | The tabletop is at Z = 0.8 m. Add half the cube’s height (0.0615 m) to predict a center at 0.8615 m. |
| Replicator | Scene and camera → aligned color, depth, and class IDs | RGB shape is [720, 1280, 3]. Depth and labels each have shape [720, 1280]. |
| CPU checker | USD and captures → check/report.json |
Scene units, channel alignment, cube pixels, and relative X displacement. |
Read three values at the same pixel
In the first saved frame, u=613, v=231 has RGB [155, 63, 14], depth rounded to 3.164 m, and ID 2. The pixel to its left, u=612, v=231, has RGB [153, 103, 61], depth 3.376 m, and ID 3. The frame’s JSON maps 2 → part and 3 → workbench. These neighboring pixels cross the boundary between the tabletop and the cube.
This is a 3 × 3 crop across the cube and tabletop in the first saved workbench frame. Select an RGB cell to compare the same coordinates.
RGB
Depth (m)
Semantic ID
u=613, v=231 · RGB [155, 63, 14] · 3.164 m · 2 (part)
Brighter depth cells are nearer within this crop. The IDs come from this frame’s label JSON.Source data
Check the bundled recording without a GPU
Look at the bundled captures first so you know what you will make. You can do this part on your own computer. Open a terminal and run the first two lines to get the files and enter the folder. If you already cloned the repo, just enter its folder. Install missing Ubuntu 24.04 prerequisites with sudo apt install git python3.12-venv.
git clone https://github.com/james-joobs/awesome-nvidia-physical-ai.git
cd awesome-nvidia-physical-ai
In the same terminal, create a Python 3.12 environment. source activates it so the libraries stay inside this project’s environment.
python3.12 -m venv .venv-workbench
source .venv-workbench/bin/activate
python -m pip install -r labs/scene-to-data/requirements-check.txt
Run the checker. --recorded selects the bundled frames. The path before that flag is where the program extracts the frames and writes results.
python labs/scene-to-data/check_workbench.py runs/workbench-replay --recorded
Open runs/workbench-replay/check/frame-00.png in an image viewer. It shows the photo, depth, and the cube mask from left to right. The white region on the right includes only cube pixels. Read the original .npy depth array for numeric measurements.

Same pixel, different information. At column 715, row 231 in the original frame, RGB [155, 66, 14] is orange. The depth at that pixel is about 3.15 m, and its class ID is 2. The JSON label map says ID 2 means part, the cube. Together, the files tell you which pixel belongs to the cube and how far away it is. Recorded frame archive
Two PASS lines mean the saved-data check is complete. If you have an RTX machine, generate new data in Isaac Sim 6.2. You will use the same checker on your own captures.
Generate the CAD and USD scene
Now make your own workbench. STEP is the design file a CAD tool reads. The mesh JSON is a list of triangles for the simulator. Check the Linux GPU and set up Isaac Sim 6.2. Open a terminal on the RTX machine and enter this repository. Use a separate Python environment for CadQuery.
python3.12 -m venv .venv-workbench-cad
.venv-workbench-cad/bin/python -m pip install 'cadquery==2.8.0'
.venv-workbench-cad/bin/python labs/scene-to-data/make_step.py runs/workbench-live
The script exports workbench.step, opens it again, and checks for 10 solids and a 1,200 × 600 × 40 mm tabletop. It then writes cad_meshes.json in meters. The next step uses that mesh to create workbench_scene.usda. This keeps the generated USD tied to the CAD geometry you just built. CadQuery script
Capture RGB, depth, and masks in Isaac Sim
Bring the mesh you just made into Isaac Sim. If you installed the Workstation package, change the first path to your installation folder. Run the block in the same terminal. python.sh loads the modules Isaac Sim needs. For a pip-based install, activate its environment and use python in place of "$ISAAC_SIM_DIR/python.sh".
ISAAC_SIM_DIR="$HOME/isaacsim-6.2.0"
"$ISAAC_SIM_DIR/python.sh" labs/scene-to-data/workbench_final_take.py \
  runs/workbench-live/cad_meshes.json runs/workbench-live
The viewport opens on /World/InspectionCamera. PhysX drops the cube from above the tabletop, and Replicator then changes the cube's X position and light intensity four times. Each capture comes from one render product and writes rgb_####.png, distance_to_image_plane_####.npy, semantic_segmentation_####.npy, and a JSON label map. After the capture, use File → Open to reopen runs/workbench-live/workbench_scene.usda; choose InspectionCamera in the viewport to inspect the saved stage. Capture script · NVIDIA Replicator examples
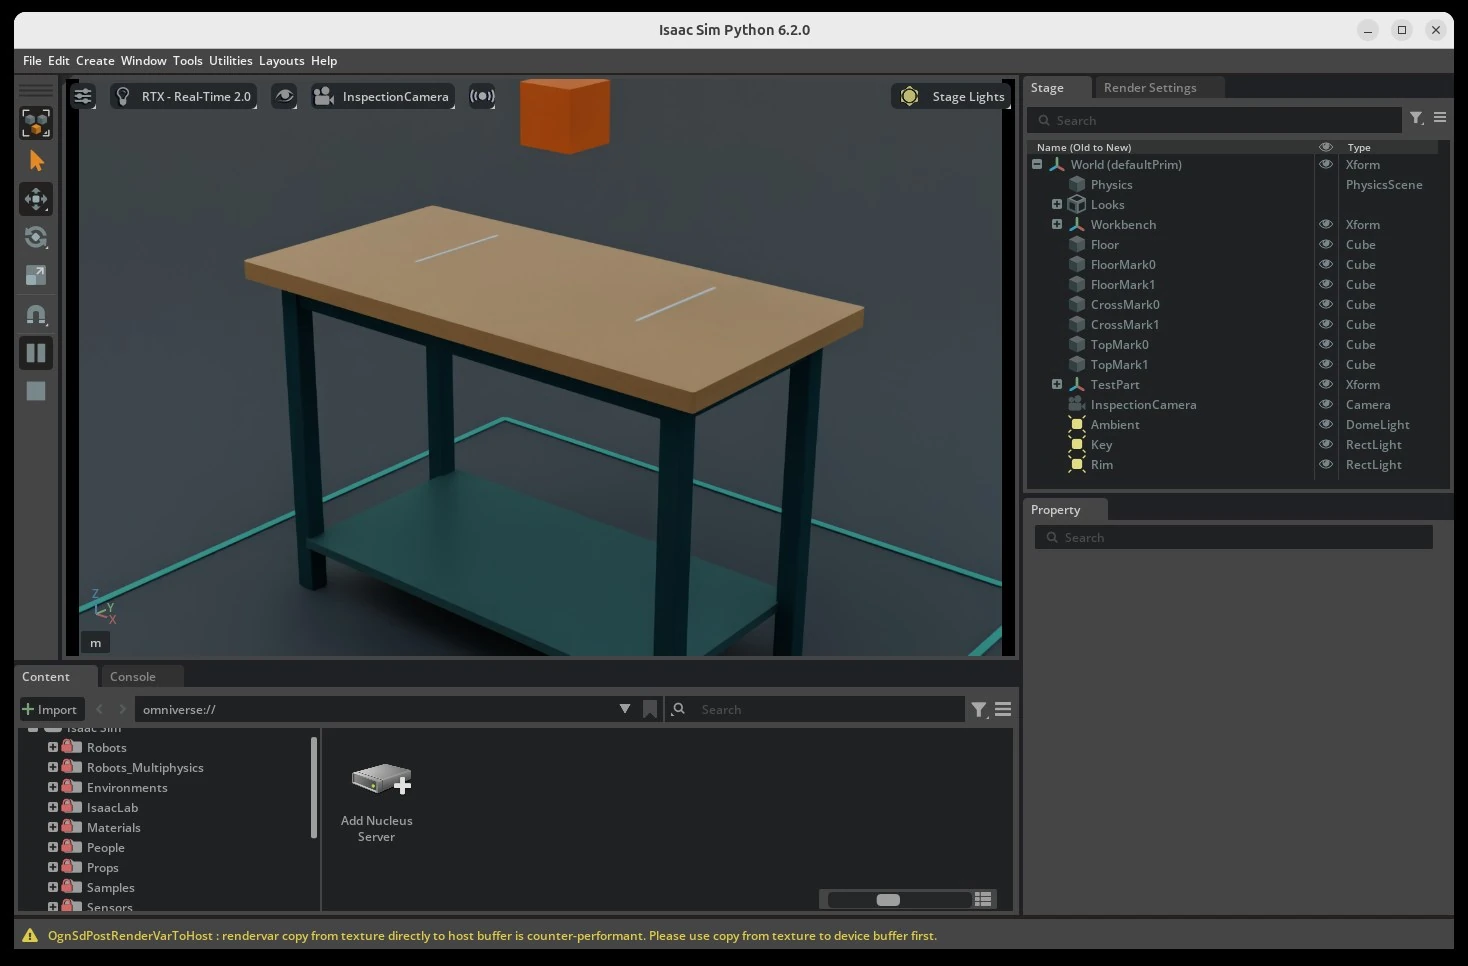
With the collider in place, the cube stops on the tabletop. Isaac Sim viewport after the capture
For a machine without a desktop, append --headless to the same command in a supported Isaac Sim GPU environment. The render still requires the RTX device. Use a new run directory when changing the configuration.
Verify your run and save the deliverables
When Isaac Sim closes and the terminal prompt returns, run the command below from the same folder. If your CPU check environment is on a different computer, either create it here using the first step or copy the capture folder to that computer. Leave out --recorded to check your own files.
.venv-workbench/bin/python labs/scene-to-data/check_workbench.py runs/workbench-live
| Check | Passing result |
|---|---|
| Stage | The tabletop measures 1,200 × 600 × 40 mm, uses meters in USD, and has a collider. |
| Settling | The run log shows the cube starting above the table and settling within 2 cm of the expected center at 0.8615 m. |
| Camera | Each of four frames has matching 1,280 × 720 RGB, depth and mask shapes. At least 1,000 pixels have the part label, with finite positive camera-plane depth. |
| Relative motion | Relative X displacement recovered from the visible cube surface differs from the authored motion by at most 10 mm. |
Keep workbench.step, workbench_scene.usda, the replicator/ folder, and check/report.json. The checker also writes the three-channel preview and downsampled point-cloud arrays. The projection uses a centered camera and square pixels, and measures changes from frame 0. Browse the lab source · Checker on GitHub · Recorded measurements
Compare with the filmed run. The four frames had a 5.27 mm maximum relative X-displacement error. The saved-frame path does not run physics again, so its report says checked_physics_log: false.
For a second run, change the light intensities while keeping the camera and cube positions. Compare the images and rerun the checks.
Optional advanced lab. The 12-frame Replicator capture uses Isaac Sim 6.1 and Isaac Lab, with its own USD scene and checker, to explore camera changes, lighting, and occlusion.